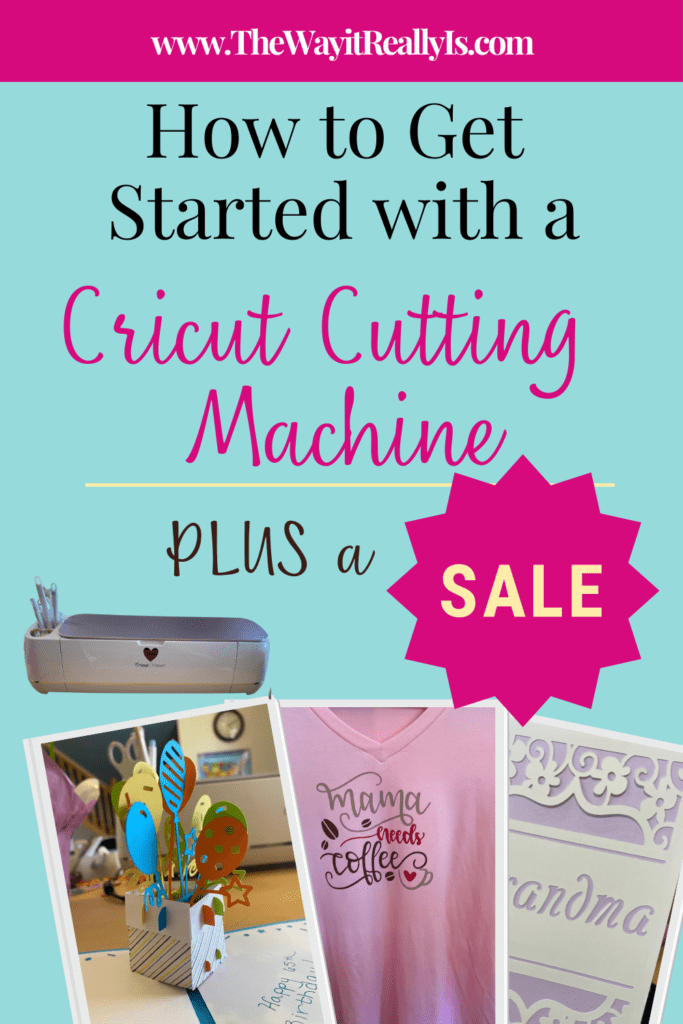
Having a Cricut cutting machine for crafting is so much fun but can be a bit overwhelming at first. Here are some tips on how to get started your Cricut cutting machine!
Note: As an Amazon Affiliate I earn from qualifying purchases made through affiliate links, at no extra cost to you. Read my full disclosure for more information.
A Cricut after 20 Years of Waiting
I had been wanting a Cricut machine for about two decades, back to when I was a teen and scrapbooking. I never got one though because I didn’t want to spend the money and didn’t want to deal with the cartridges they had back then.
Fast forward 20 years, I was 35 and it was 2021. I had been saving up money from birthdays and Christmases, $20 here, $5 there, over the years. Then for my birthday in April my parents gave me cash as a present. Somehow a Cricut cutting machine jumped into my head.
I said alright, that’s it, the money isn’t doing me any good if I just keep saving it all, I’m going to buy the Cricut Maker bundle for $419. And I did! I’m so glad that I did. I’ve used it for hobbies so far, using up some of my old scrapbooking paper for cards made on the Cricut, made some fun vinyl sayings for around the house, made decorations for my 3-year-old twin boys’ birthdays and also my 5-year-old boy’s birthday, made them custom shirts, decorations for their desks at home, shirts for my neighbor who just had a baby, etc. It’s been so much fun!!
*Note: the Cricut Maker Bundle that I bought is significantly cheaper now that they came out with the Cricut Maker 3 just a month or two after I made my big purchase. Oh well!
Differences Between Cricut Machines
There are different options for Cricut Machines. The Cricut Joy is the smallest, and the Cricut Maker 4 is the most robust.
As you know, I love buying through Amazon but when it comes to Cricut machines and materials, I prefer to shop through the actual Cricut website. Part of that is because I get 10% off since I subscribe to their Cricut Access program (which I highly recommend) but also because often things are actually less expensive on Cricut’s website than on Amazon. Also, then you know you’re getting the real deal, which is especially important when purchasing a new machine. The links I’ve included in this post are to the Cricut.com website so you know you’re getting actual Cricut materials.
Below, the buttons will lead to Cricut, and I’ll also include links to purchase on Amazon, if that’s what you prefer.
Cricut Joy & Cricut Joy Xtra
The Cricut Joy is portable which is great for on the go and all you need for making basic cards and cutting vinyl. The Cricut Joy below can use ‘Smart Materials’ if desired so you can work without a mat.
The Cricut Joy, the smallest one, was discontinued but you can still get a refurbished one through the link below.
The Cricut Joy Xtra is even better than the original as it can fit a letter-sized piece of material (8.5″x11″).

Cricut Explore
The Cricut Explore is the middle option between the different Cricut machines. It’s larger than the Joy and can do more than the Joy, but not as much as the Maker.
They update it from time to time. Currently, there is the Cricut Explore 4 but I’m sure they’ll update it again soon.
You can purchase the machine on it’s own, but if you’re just starting out, I highly recommend getting a bundle with a bunch of materials to get you started.
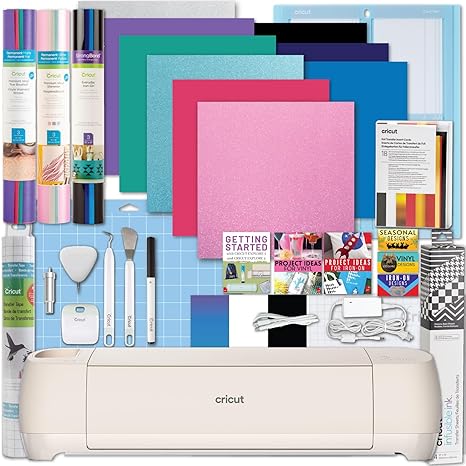
Cricut Maker
I chose to go with the Cricut Maker back in 2021 before the Cricut Maker 3 came out. The Cricut Maker that I have can cut over 300 materials including cardstock, fabric, vinyl, and even thin wood! As I mentioned earlier, I’ve loved making shirts, decals for the wall, signs, cards, and more!
I’ve made so many fun things over the past year with my Cricut Maker. I’ve also bought A LOT of materials to use with my Cricut Maker, probably more than I need. I’ll include some of my favorites below!
Since then, they came out with the Cricut Maker 4 as well. My basic Cricut Maker ended up needing to be replaced and I was excited to get a Cricut Maker 3…then of course, within a month, the Cricut Maker 4 came out!! Either way, a Cricut Maker is so useful and I love it!

Cricut Tools
The Cricut Basic Tools are essential for everything from card making to wall clings. The dental pick-looking tool is extremely helpful for intricate designs and the purple-handled scraper is great for ensuring your paper, vinyl, or other materials are well adhered to the mat.
I use these basic tools every time I make something on my Cricut. The ones I use most are the dental pick looking tool and the scraper with the purple handle.

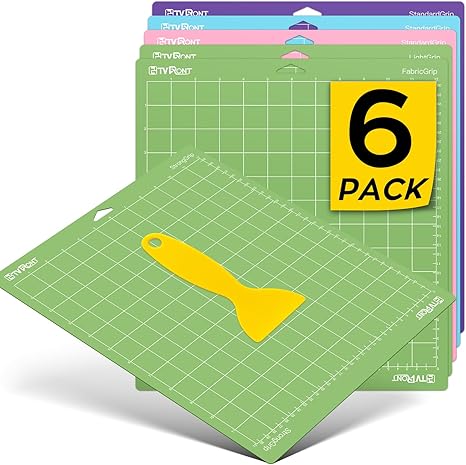
Cricut Mats
The Cricut Maker I have doesn’t use the newer Cricut ‘Smart Materials’ so I need to have a mat for mine. All older models are that way. I’ve also heard that the ‘Smart Materials’ are quite expensive so people sometimes prefer to use a mat and regular materials even if they have the Maker 3 that doesn’t require a mat.
The variety pack of Cricut Mats contains one of each: standard grip, strong grip, and light grip mat.

Personally, I feel that off-brand mats are just as good so I often buy them from Amazon, such as the ones below.
Cardstock
Cardstock is great for making cards, making fun paper crafts, and so much more! I love making special cards, especially pop up cards, as well as fun little projects that my kids love. This is the cardstock I use and I really like it. They also have a smaller version for smaller projects. The 12×12 fits the whole Cricut mat.
Cricut sells some of their own paper but I’ve found much of it to be textured and doesn’t work all that well within my Cricut. I prefer the cardstock linked below.
The Astrodesigns paper is great quality, I always get the 65lb cardstock and it cuts well with the Cricut.
Another great brand is the Recollections brand which can be found on Amazon, but it’s quite pricey there. If you are shopping from a craft store such as Michael’s or JoAnns or other craft stores, they often will have sales on Recollections paper. I stock up when they do!


Printable Sticker Paper
If you’re looking to make some fun stickers, I suggest the WeLiu Sticker Paper. You can print images from your printer then cut them out using the Cricut or you can draw directly on the sticker paper using your Cricut.
I used to suggest the Cricut Sticker Paper and I do still like it but the one below is waterproof which is really nice!!

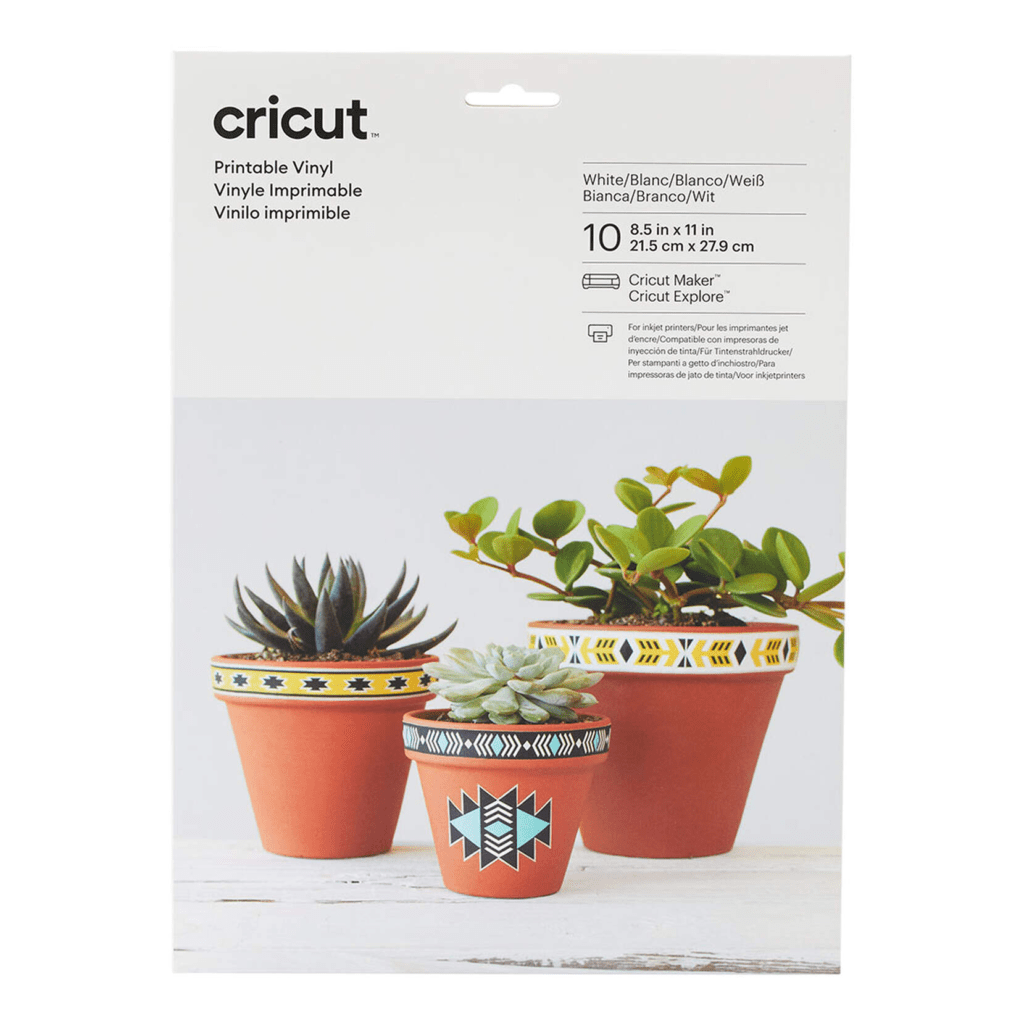
Printable Vinyl
I love using this for stickers as well. I have made a lot of removable stickers with printable vinyl. Similar to the sticker paper, you can print out your desired design through the Cricut Design Space software and your Cricut will cut it for you.

Removable Vinyl
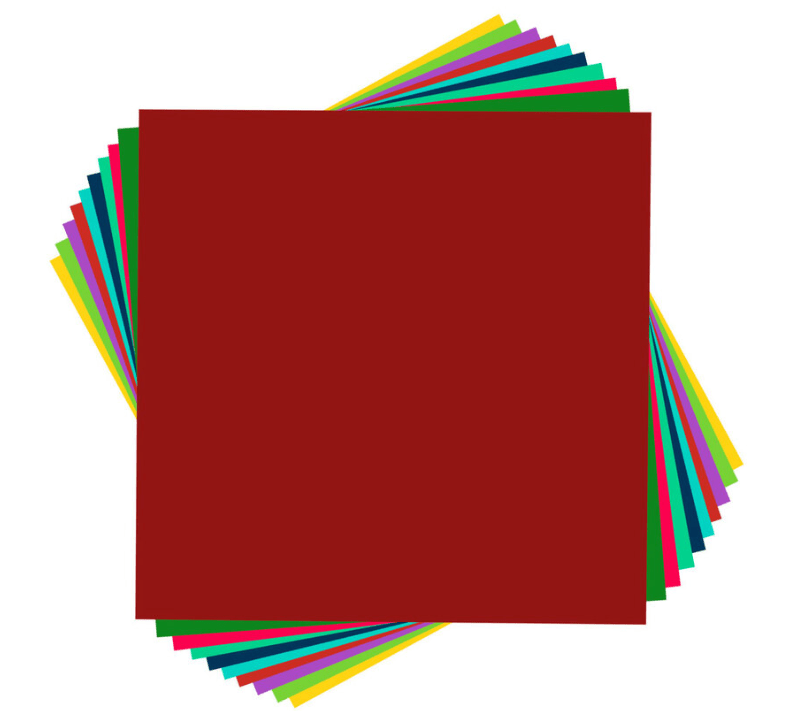
If you’re wanting to do wall decals or decals on anything else that you may want to remove someday, it’s best to use removable vinyl. This pack is a great deal and it’s nice to have various colors. This is a pack I have on my wishlist for birthdays and Christmas as I could always use more!
This 40-pack of removable vinyl is an amazing deal. So great that I’ve purchased it from Cricut two times! I love the variety of colors, how easy it is to use, and how great it sticks to what I want it to yet comes off cleanly if I want to remove it. I also love that this vinyl lays flat unlike most vinyl that comes in a roll.
Tip: always be careful when you’re buying vinyl to see if it’s removable vinyl or permanent. You wouldn’t want permanent vinyl on your walls if you think you’ll change the design in a year!

Vinyl Transfer Tape
If you’re using vinyl, you’re going to need transfer tape as well. The transfer tape helps you, you guessed it, transfer the vinyl from what was just cut to your wall or whatever you want to put it on after it’s been cut. Otherwise, you’d have a whole bunch of random pieces that wouldn’t end up on your surface smoothly.
One thing to note is you CAN reuse this transfer tape. I didn’t know that at first and would throw it away after first use but now I know to keep reusing it until it’s no longer sticky instead.

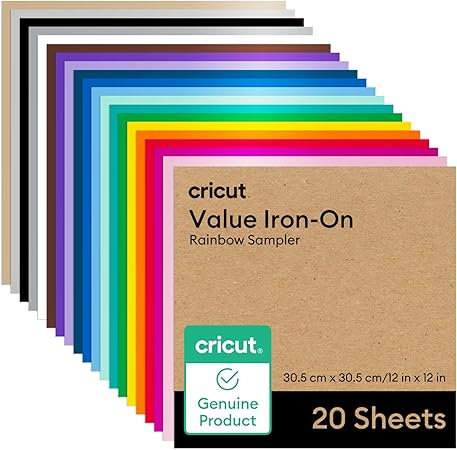
Iron-On Vinyl
If you’re wanting to make t-shirts or even personalized potty training underwear like I did for one of my kids, you’ll want iron-on vinyl.
One note about iron-on is you won’t need the transfer tape above because when you cut the iron-on vinyl you actually will mirror the image, negating the need for transfer tape.
Cricut EasyPress
The Cricut EasyPress makes it so easy to make t-shirts, sweatshirts, personalized onesies, and more. At first, I was frugal and used a regular household iron. I quickly grew tired of the guessing, waiting, and screw-ups with the iron and splurged to purchase the Cricut EasyPress. I’m so glad that I did. It’s so easy as you can actually dial in what type of material you’re ironing on to and the type of material being ironed on. From there it tells you how hot to set the EasyPress and for how many seconds.
I have the 9×9 model that is featured below. There is also a larger model but I find this one to be sufficient for my needs.


Larger model
EasyPress Mat
Unlike a traditional iron, it isn’t recommended to use an ironing board when applying vinyl to clothing. You can use a towel to protect the surface or get this handy mat that works perfectly every time.
![Cricut EasyPress Mat, Protective Heat-Resistant Mat for Heat Press Machines and HTV and Iron On Projects, [12 x 12 ] (2004475)](https://m.media-amazon.com/images/I/41FNKJcKcfL._SL500_.jpg)
EasyPress Mini
The EasyPress Mini is absolutely adorable! I was already excited when I got this for Christmas off my wishlist but when I opened it and saw how cute and tiny it was I squealed “cuuuutttteeee!!!!”
Though it’s small, it packs a mighty punch as it still gets very hot to get the job done. It was perfect for making one of my son’s personalized potty training underwear as I detail in this blog post.

Brayer & Remover Set
The Brayer is one of those things that I didn’t know I needed it until I got it and holy wow, it’s amazing. Previously I had just been using the small scraper as part of the Basic Tools set to ensure my cardstock or vinyl was adequately adhered to the Cricut mat before sending it through the Cricut machine but honestly, this is SO much better.

Closing
I highly suggest investing in a Cricut cutting machine if you enjoy crafting. I bought it mainly to make cards and have used it for so much more already and I’ve only had it for a year. There are many more accessories and materials you can purchase once you get the hang of what you’re doing, but I didn’t want to overwhelm you too much! I’ll have subsequent posts with more Cricut projects that I’ve made with my Cricut Maker!

Cricut Access
Cricut has sales quite often but if you want to save all the time, you can become a Cricut Access Member below!
Then you can take an additional 10% off ALL of your purchases, including machines, plus a code each quarter to get $10 off with free shipping.
Save Even More!!
Save an extra 2% or more PLUS get $30 cash when you make a qualifying purchase of $30 or more on stuff you’d already be buying! Just sign up for Rakuten for FREE and make your purchase.
No membership fees, no credit card information needed, just sign up and start getting cash back when you shop!
Want to learn more about Rakuten? Read my linked blog post below.

As a mom of identical twins and a son two years older, I have gained invaluable experience in the realm, and chaos, of parenting. With a Master's Degree and Education Specialist Degree in School Psychology, I spent years as a school psychologist, helping children navigate through their educational and emotional challenges. Now as a stay at home mom and professional blogger, I combine my areas of expertise to help you in your parenting journey.
Ugh this makes me wants cricut even more !!
They’re so fun, I highly recommend one! I’m still amazed at all I can do with mine!
Okay, I just got a new Cricut and I have been wanting to try it but keep forgetting. I’m gonna break it out now.
Love it!! You could start with making some Happy Spring cards to send to friends and family as a little pick-me-up and go from there! 🙂