Sensory tables are great for kids’ development and typically keep kids busy for a while which is AMAZING!! We wanted a sensory table for our twins but new ones were hundreds of dollars, so we decided to make our own! If you want to make your own sensory table, read on to learn how.
Note: As an Amazon Affiliate I earn from qualifying purchases made through affiliate links, at no extra cost to you. Read my full disclosure for more information.
Why a Sensory Table?
Sensory exploration is very important for kids’ development and a lot of fun! Kids learn with all 5 of their senses, including touch!! A sensory table allows kids to explore different textures, shapes, and more primarily through touch but also through their other senses. Using a sensory table helps kids develop fine motor skills and cognitive skills.
DIY Sensory Table Version 1
I found a table on Facebook Marketplace that was a little Ikea table that someone had glued wooden slats to on the top. My husband measured and cut holes into the top to fit the shoebox size bins in so they’d stay in place. He also reinforced the table as it wasn’t all that sturdy.
This seemed like a great and inexpensive solution and it lasted for almost a year.
Then the slats of wood on top started falling off and using hot glue to put them back on wasn’t sufficient. Then the table started to grow mold, which wasn’t all that surprising. Once I noticed the mold, it had to be out of the house and no longer safe for use. Then on to idea #2.
Better DIY Sensory Table = Idea #2
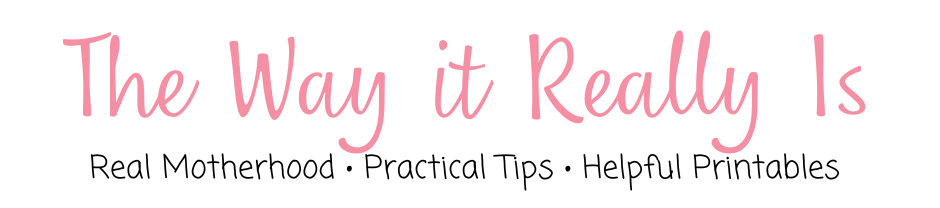
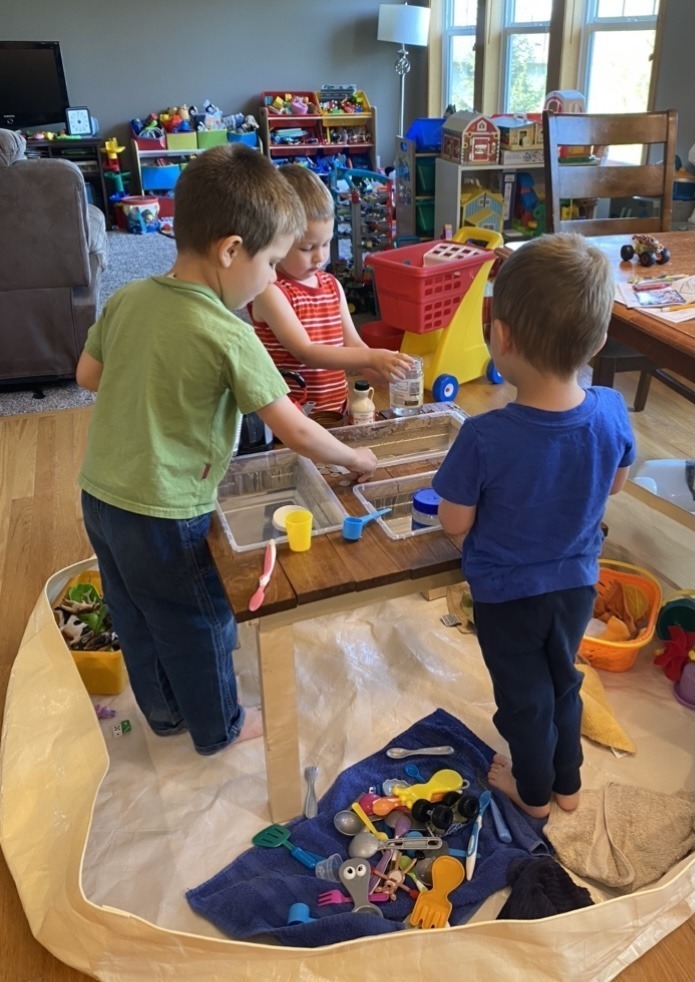
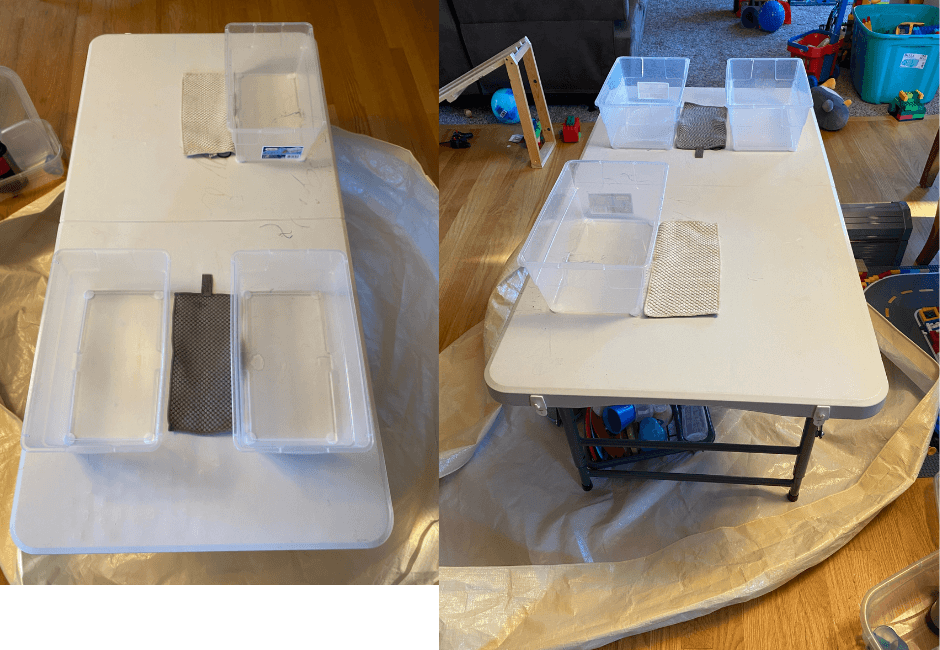
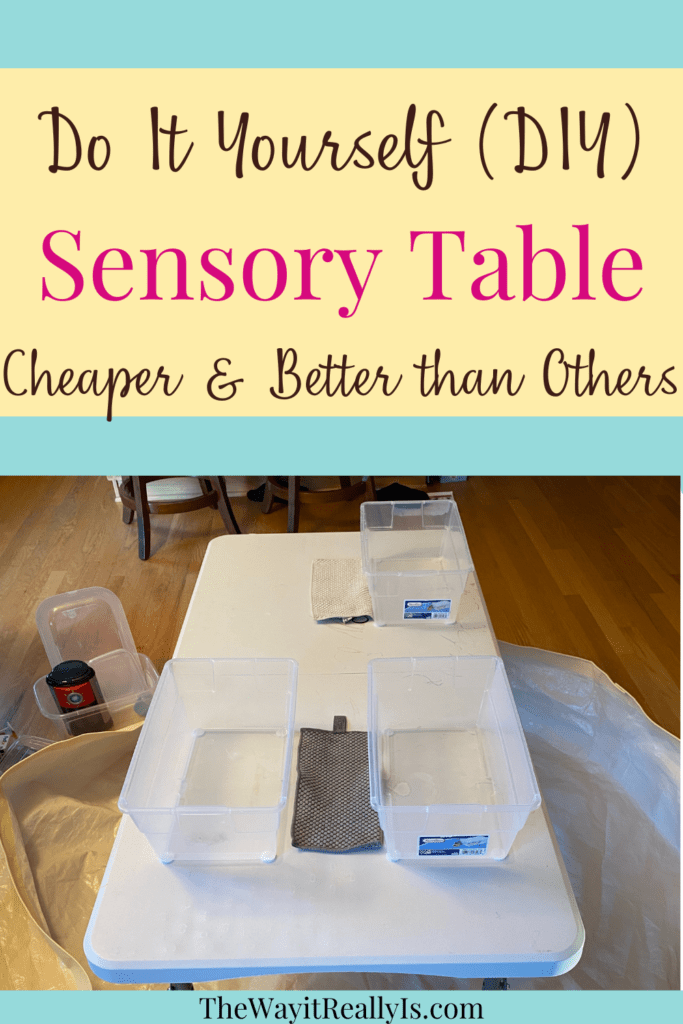
After the first one didn’t work out the best, I had a new idea. Use a 4-foot folding table we already had and connect the sensory bins to it using velcro type hook and loop adhesive dots. That way the bins won’t slide around, I can take them off to empty or clean them, and take them off when I want to store the sensory table.
See photos below and further down I’ll explain the supplies. This DIY sensory table has three bins that are held onto the table with hook and loop adhesive dots, one bin for each child. I wanted to do bigger bins but they wanted the see through ones from the old sensory table. Works for me! This way they have more room to have things around their bins as well such as all the toys they play sink or float with.
As you can see, there is also an area where no one is standing and I have a cookie sheet there with another bin with water. They like to use a pretend coffee maker we have and I always have them use it on the cookie sheet because water gets everywhere. Though it’s not really needed here with the waterproof mat, they still wanted it so I figured why not?!

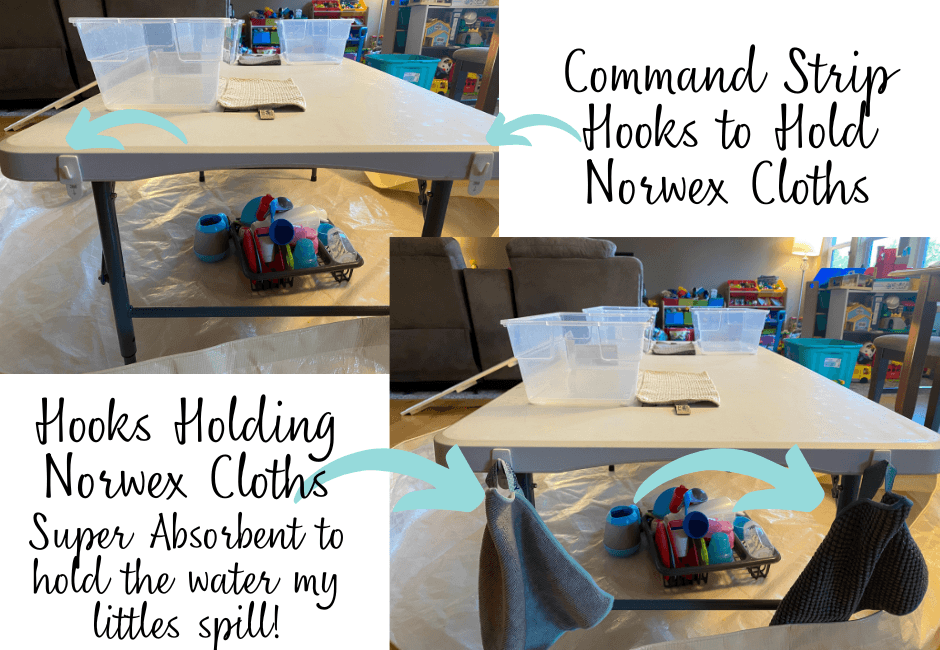
The reason I added the hooks on the side of the table, which I realize may not work the best once I fold the table up, is because with the water my almost 4 year old twins always make a huge mess. This way we can have super absorbent Norwex cloths readily available and they can hang and dry there. The hooks I have are really old and not the best, I’d suggest the hooks I link below through the pink button.

Supplies for DIY Sensory Table #2
Bins
You can use any type of bins you’d like depending on the size of the table you’re making into a sensory table and your needs. I wanted to use bigger sensory bins
but my kids wanted to still use the small transparent bins we had used in the old diy sensory table. They are a nice size so that they have plenty of room around them to store all their toys they use in the sensory table.
These are great also because they come with lids so you can just put a lid on when your kids are done for the day, or hour, and then come back to it without having to put everything away and then take it out again.
I highly recommend getting plastic shoebox size bins from Dollar Tree, Family Dollar, Target, Walmart, or any other local store that would carry them, where you can buy as many as you need, and might be cheaper. If you want to use Amazon, these are a decent prize and I’m sure you’ll find uses for the extra bins you don’t use for the sensory bin table.

4-Foot Folding Table
I’ve written about this 4-foot folding table in other blog posts as well. It’s great because it folds up to be 2ftx2ft and even has a handle! Another thing I love about it is that the height is adjustable. For the kids I use the lowest height and if we are using the table for a big dinner where we invited other adults to the house then we use it at the highest height.

Waterproof Mat
We use the BIG waterproof mat with sides for so many different things in our home. It really helps keep water off the hardwood floors while the kids are playing. It also helps keep anything else off the floor and makes for easy clean up.

Hook & Loop Adhesive Dots
These are great not only for this sensory table project but also if you want anything that is easily detachable on a surface such as making your own calendar, laminating it, and then letting your kids attach dates to it or what you’re going to do that day.

What to Put in a Sensory Table?
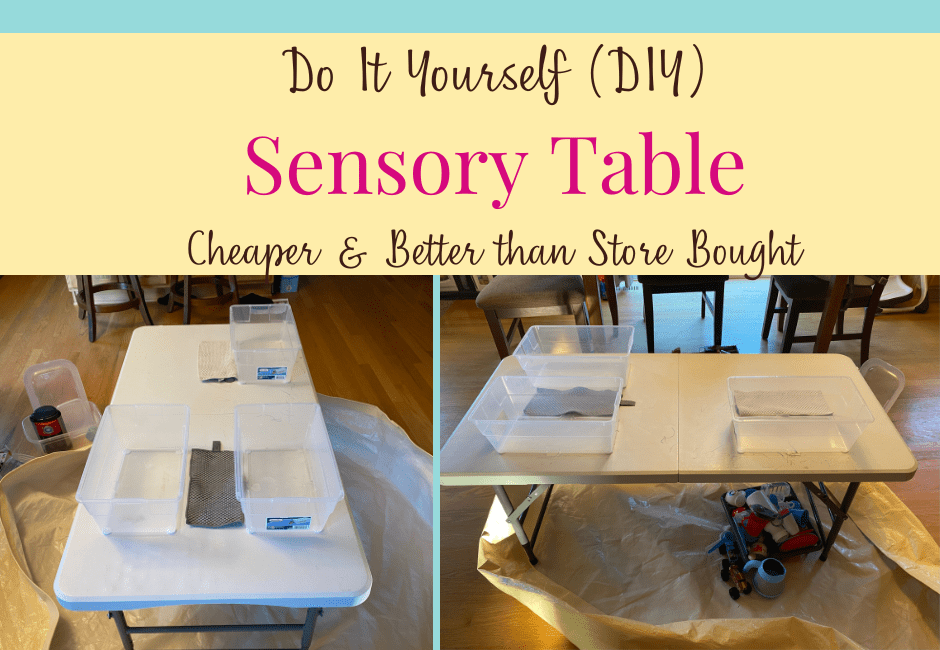
There are so many options of sensory bin activities! Our kids love water play, soap and water to ‘clean’ dinosaurs, etc., Kinetic Sand, Water Beads, Play Doh, Colored Rice, Construction Vehicles, and Pom Poms, most of which are below other than the soap and water. Ha!
Ensure to provide proper supervision while your children are playing with the sensory table, especially if they are younger and small objects are being used. My kids are old enough that I let them play on their own for the most part but am always within ear shot and just in the next room if they need anything.
Water
Honestly, the thing my kids love to play with the most in a sensory table is water. Even better, add some mild dish detergent to make it bubbly water and they love it even more!
There have been times they’ve washed their toy dinosaurs for hours using water and soap from the diy sensory table. It’s adorable. Make sure to have some old hand towels or other cloths available to wipe up any spilled water and for the dinosaurs, or whatever they’re using, to dry when they’re done being washed.
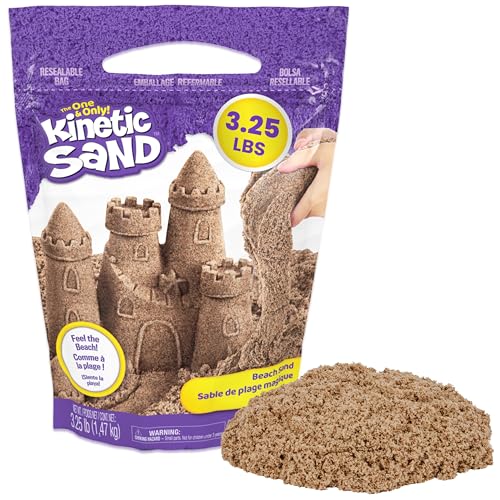
Kinetic Sand
Kinetic sand is so fun to play with!! There are so many different colors and sets of kinetic sand that the possibilities are truly endless!

Colored Rice
Colored rice is a fun sensory play activity kids can run their hands through, write letters in with their fingers, and so much more. My kids like to fill containers up with colored rice and watch it fall as they dump it back into the bin.
You can buy pre-made colored rice but it’s a lot cheaper to make it on your own, though it can be messy to do.


Construction Vehicles
Construction vehicles are a great accessory to use with water, Kinetic sand, Play-Doh, and colored rice. We have a set that we keep with the sensory table toys so sand doesn’t get all over the house.

Pom Poms and Accessories
Pom Poms are another great addition for a sensory table! There are so many things you can do with them, including what’s in this kit to help develop fine motor skills.

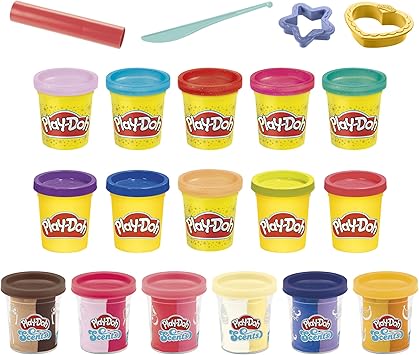
Play Doh
Play-Doh is always fun to play and create with. There are so many awesome sets, accessories, and ways to play with Play-Doh!

Other DIY Sensory Table Ideas
If you’re not sure about my ideas you could make your own sensory table out of various materials including pvc pipe, a plastic bin, a plastic tub, and other materials.
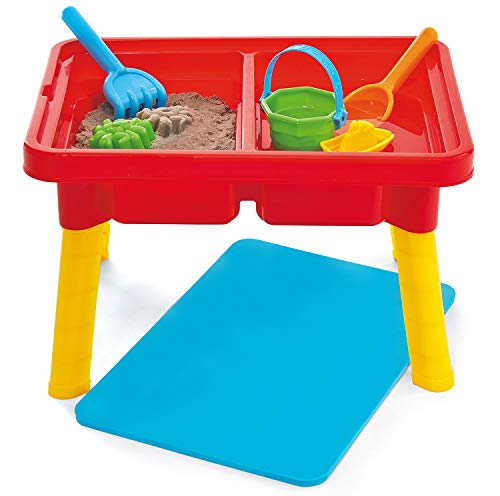
Already Made Sensory Table Options
If you’d rather not make your own sensory table you can purchase a sensory table that’s ready to go. You’ll still likely need sensory materials to add to it, so consider that while pricing out your options.
You could make a sensory table our of a sand table which is likely able to be found on your local Facebook Marketplace or other used toy place. Otherwise of course you could purchase one new.
From what I found when I was looking for already made sensory tables for my boys, either they were super expensive or really flimsy but they may have come out with some better options since I looked!


As a mom of identical twins and a son two years older, I have gained invaluable experience in the realm, and chaos, of parenting. With a Master's Degree and Education Specialist Degree in School Psychology, I spent years as a school psychologist, helping children navigate through their educational and emotional challenges. Now as a stay at home mom and professional blogger, I combine my areas of expertise to help you in your parenting journey.